Ready to elevate your photography game? Look no further than your own trusty phone camera! In this article, we will explore useful tips and tricks on how to capture stunning, professional-quality photos using your phone. From understanding composition and lighting to mastering editing techniques, you’ll be equipped with the knowledge and skills necessary to take your photography to the next level. So grab your phone and get ready to unleash your inner photographer!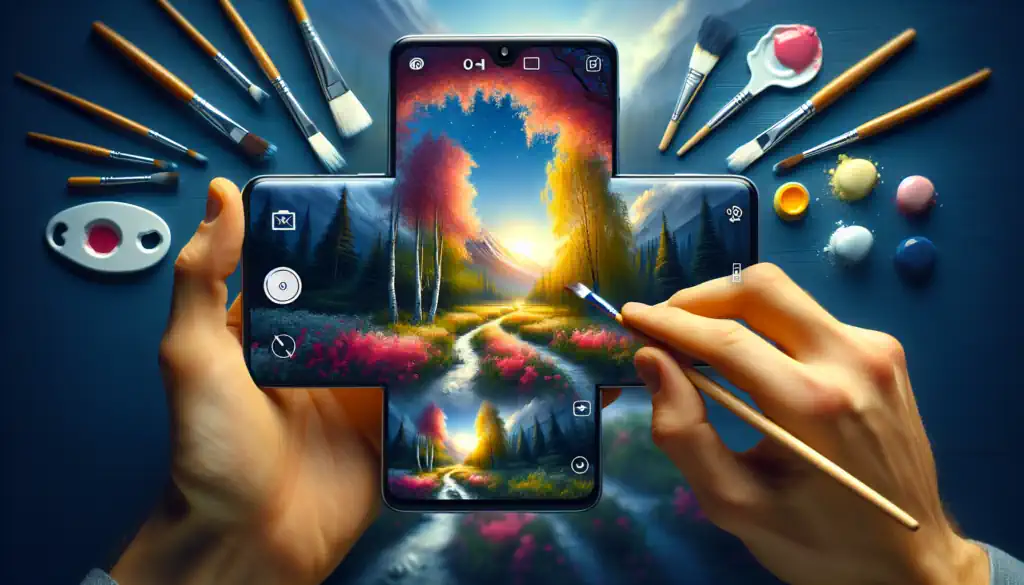
Understanding your Phone Camera
When it comes to taking professional photos with your phone camera, the first step is to understand its specifications. Become familiar with the aperture, sensor size, and megapixels of your phone’s camera. These specifications play a vital role in the quality of your photos. Take some time to research and understand what each specification means for your photography.
Additionally, learn about the different camera modes available on your phone. Most smartphones offer various modes such as portrait mode, night mode, and panorama mode. Each mode is designed to optimize the camera settings for specific shooting scenarios. Understanding when and how to use these modes will greatly enhance your photography skills.
Lastly, don’t forget to familiarize yourself with the camera settings on your phone. You can adjust settings like exposure, white balance, and ISO to achieve the desired effect in your photos. Play around with these settings and understand how they influence the overall look of your images.
Mastering Composition Techniques
Composition is a crucial aspect of photography, and mastering different techniques can significantly improve the quality of your photos. The rule of thirds suggests that you divide your frame into nine equal parts using two horizontal and two vertical lines. By placing your subject along these lines or at the intersections, you create a visually pleasing and balanced composition.
Leading lines are another composition technique that helps guide the viewer’s eyes towards the main subject. These can be natural or man-made lines like roads, fences, or rivers. Utilize these lines to add depth and interest to your photos.
Symmetry and balance are key elements in composition. Look for symmetrical scenes or objects to create visually appealing images. Additionally, pay attention to the foreground and background of your photos. Including a compelling foreground element can add depth and create a more engaging composition.
Consider experimenting with framing your subject within another object, like a window or a doorway. This technique, known as framing within a frame, adds a unique perspective to your photos and draws the viewer’s attention to the main subject.
Utilizing Natural Lighting
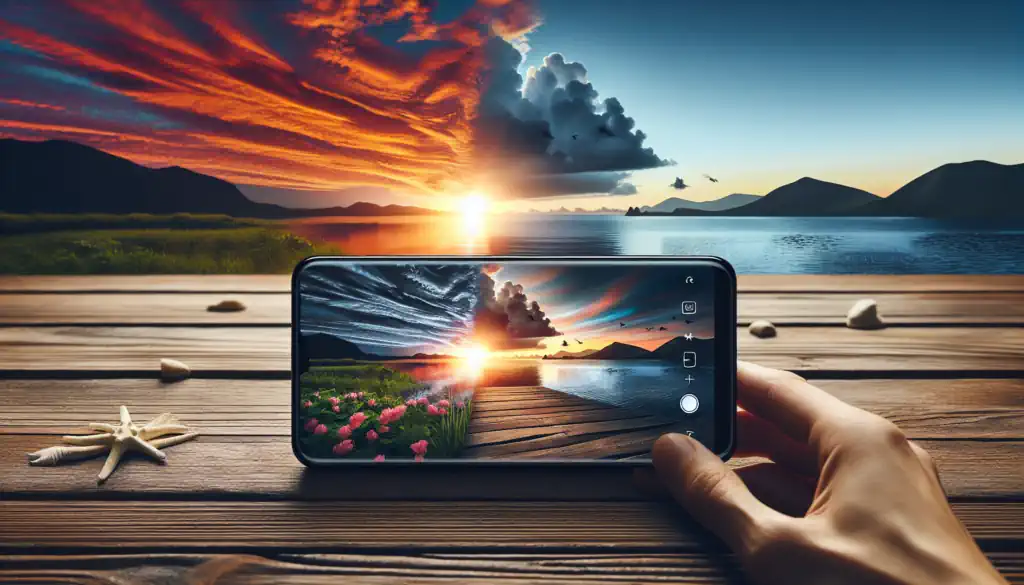
Natural lighting can make or break a photo. The golden hour, which refers to the hour after sunrise or before sunset, offers soft, warm, and flattering light. During this time, the sun is low in the sky, creating long shadows and a warm color temperature. Make sure to take advantage of this beautiful natural light to capture stunning photos.
While the golden hour is ideal for photography, the harsh midday sun can cast strong and unflattering shadows. Whenever possible, try to avoid shooting during this time. Instead, look for shaded areas or wait for a cloud to pass, providing more even lighting.
Diffusers and reflectors can also be used to manipulate natural light. A diffuser softens the light, minimizing harsh shadows and creating a more even illumination. Reflectors, on the other hand, bounce light back onto your subject, filling in shadows and adding a subtle glow.
Experimenting with backlit subjects can produce beautiful and dramatic photos. Place your subject between the camera and the light source, such as the sun, to create a stunning silhouette effect.
Lastly, don’t be afraid to embrace and play with shadows. Shadows can add depth, drama, and texture to your photos. Combining shadows with interesting compositions can result in captivating images.
Adjusting Exposure and Focus
Getting the exposure and focus right is crucial for professional-looking photos. Most phone cameras have a tap-to-focus feature, allowing you to select the area you want to be in focus. Simply tap on the desired subject on your phone’s screen to ensure it’s sharp and clear.
Exposure compensation is another important tool for adjusting the brightness of your photos. You can manually adjust the exposure settings on your phone to make your images lighter or darker. This feature comes in handy when you have challenging lighting conditions.
In high-contrast situations, consider using the High Dynamic Range (HDR) mode on your phone camera. HDR combines multiple exposures to capture more details in both the highlights and shadows of a scene. This mode is particularly useful for landscape and architectural photography.
Exposure lock is a feature that allows you to lock the exposure settings to ensure consistent exposure throughout a series of shots. This is especially useful when shooting in changing lighting conditions or when capturing a specific moment without worrying about exposure changes.
Capturing Sharp and Steady Photos
To ensure sharp and steady photos, it’s essential to hold your phone steady while taking a shot. Hold it with both hands, keeping your elbows close to your body for added stability. Avoid shaking or unnecessary movements to minimize blur.
Utilize burst mode to capture fast-moving subjects or to ensure you capture the perfect moment in a series of shots. By holding down the shutter button, your phone camera will capture multiple photos in quick succession, increasing the likelihood of obtaining a clear and sharp image.
For more stability when shooting, consider investing in a tripod or stabilizer designed for phone cameras. These accessories enable you to take long exposure shots, capture time-lapse videos, or simply keep your phone steady for sharper photos.
The self-timer function can also come in handy when capturing self-portraits or group shots. Set the timer, prop your phone on a stable surface or tripod, and strike a pose. This feature ensures you have time to position yourself and allows you to take photos without having to hold the phone.
Choosing the Right Subject and Angle
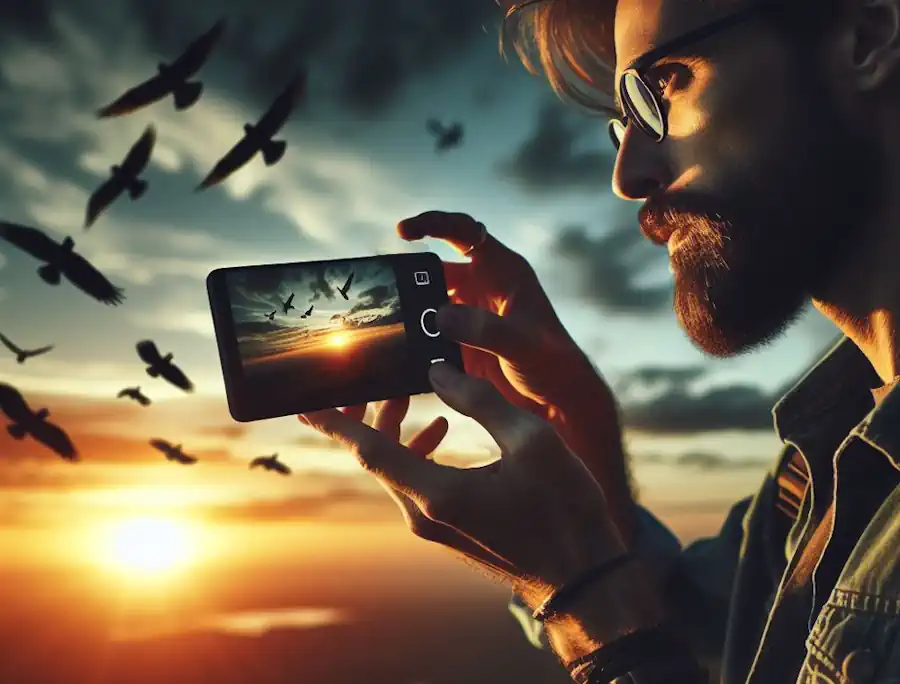
Choosing the right subject is essential for capturing professional-looking photos. Look for interesting and unique subjects that catch your eye. It could be a stunning landscape, a colorful flower, or a person with an intriguing expression. Train your eye to identify subjects that are visually appealing and have the potential to tell a story.
Experimenting with different angles can completely transform the look and feel of your photos. Don’t be afraid to get low and shoot from a worm’s-eye view or climb to a higher vantage point for a bird’s-eye view. Different angles offer fresh perspectives and can add a creative touch to your photography.
Remember, the beauty of photography is in capturing unique perspectives. Don’t be afraid to break the rules and think outside the box. Find your own style and vision, and let your creativity shine through in your photos.
Utilizing Depth of Field
Depth of field refers to the range of sharpness in a photo, from the foreground to the background. It can be utilized to direct the viewer’s attention and create a sense of depth. With phone cameras, there are a few ways to control the depth of field.
Many smartphones now come equipped with Portrait mode, which automatically blurs the background and creates a shallow depth of field, similar to what you would achieve with a professional camera and a wide aperture. Take advantage of this mode when you want to emphasize your subject and create a dreamy, bokeh effect.
If your phone camera allows manual control of the aperture, adjusting it can help create a shallow or deep depth of field. Experiment with different apertures and see how they affect the sharpness and blur in your photos. Keep in mind that not all phone cameras have this feature, so check your phone’s specifications.
Editing and Enhancing Your Photos
Editing plays a crucial role in transforming your photos from good to great. There are numerous photo editing apps available that allow you to adjust various aspects of your images. Experiment with different apps to find the one that suits your editing style and preferences.
Adjusting the brightness, contrast, and saturation can significantly enhance the look of your photos. Carefully adjust these settings to achieve a balanced and appealing look without overdoing it.
Sometimes, a simple crop and straightening can make a world of difference. Remove any unnecessary elements from the frame and straighten the horizon to ensure your photo looks clean and polished.
Filters and effects can add a unique touch to your photos and help convey a certain mood or style. However, use them sparingly to avoid an overly edited or artificial appearance.
Unwanted objects or distractions in your photos can be removed using various photo editing tools. Take time to clean up your images and ensure there are no distractions that take away from the main subject.
Taking Advantage of Additional Accessories
To further enhance your phone photography, consider investing in additional accessories. Attachable lenses can expand the capabilities of your phone camera, allowing you to capture wide-angle shots, macro close-ups, or fisheye images. These lenses attach directly to your phone and offer a new perspective to your photography.
An external flash can be beneficial when shooting in low-light conditions. It provides additional light to illuminate your subject and ensures a well-exposed photo. Look for a flash that is compatible with your phone model and consider diffusing the light for a softer and more natural look.
A remote shutter release allows you to capture photos without physically touching your phone camera. This is particularly useful for long exposure shots or self-portraits, as it eliminates any camera shake caused by pressing the shutter button.
Practice, Experiment, and Learn from Others
The key to becoming proficient in phone photography is to practice regularly. Take your phone with you wherever you go and capture moments that catch your eye. The more you practice, the more you’ll learn about what works and what doesn’t.
Don’t be afraid to experiment with different techniques and settings. Push the boundaries of your phone camera and see what you can create. Not every photo may turn out perfectly, but each attempt is a learning opportunity.
Seek inspiration from professional photographers and their work. Study their composition, use of light, and subject choices. Pay attention to the techniques they employ and try to incorporate them into your own photography.
Join photography communities or workshops where you can connect with other photography enthusiasts. Share your work, seek feedback, and learn from others. Surrounding yourself with like-minded individuals can inspire and motivate you to improve your skills.
In conclusion, taking professional photos with your phone camera is achievable with a little understanding, practice, and experimentation. Familiarize yourself with your phone’s camera specifications, composition techniques, and lighting principles. Mastering exposure and focus, capturing steady shots, choosing the right subjects and angles, utilizing depth of field, editing your photos, and exploring additional accessories will elevate your mobile photography to the next level. So grab your phone, step outside, and start capturing amazing photos!